ARTFULLY AVOIDING THE LANDFILL (& driving my husband crazy) ONE PIECE OF JUNK AT A TIME

12/31/10

A Reasonable New Year's Resolution

I do not like New Year Resolutions because I consistently fail at keeping them.  The older I get, the more I realize how ridiculous it is to make bold statements about how I am going to start doing this or quit doing that because by the first of February it's always back to the same old same old.

Plus, I am surrounded by people who just love to remind me of the errors of my ways.

Meet my sisters:


Cindy (above) and Rhonda (below)

(faces changed to protect the guilty)


I think these pictures duly capture the very essence of my slightly-short-of-sainthood siblings who presented me with a Christmas gift (in front of God and everyone) that is the basis for my New Year's Resolution:

NEVER TELL YOUR SISTERS ANYTHING YOU DON'T WANT REPEATED


It all started in September when the family was gathered around Dad in the hospital.  We've all been there, right?  Not knowing exactly what's wrong - waiting for test results - praying everything will be okay.  You know how easy it is be become a bit distracted when there's so much to think about.

In the process of waiting and wondering, I tried to lighten things up a bit with "true confessions" after a quick trip to the bathroom.

"Don't ever try to use one of these to dry your hands because they aren't very absorbent," said I.


"You don't know the difference between toilet seat covers and paper towels?????" they howled!

"Of course I know the difference between toilet seat covers and paper towels, I'm just telling you, don't 'accidently' grab one of them instead of a paper towel because they aren't very absorbent."

They found that little comment hilarious too.  I thought they were going to get us kicked out of the hospital the way they were laughing and carrying on.

In my defense, I truthfully told them the bathroom was very small, the seat covers were in close proximity to the sink, and the paper towels were on a side wall. I just logically grabbed the nearest paper product to dry my hands.

They just wouldn't let it go.


Seriously, on the way home from the hospital I sneezed in the car and Rhonda (a little too quickly) said, "Oh!  Oh!  Here's a tissue!"  

She darn near went off the road trying to fish a toilet seat cover out from under her seat. 


She was mainical!

Okay, so it was a good thing she grabbed a few because those two about peed their pants laughing about their forward thinking and ability to wait for an opportune moment to rub it in!

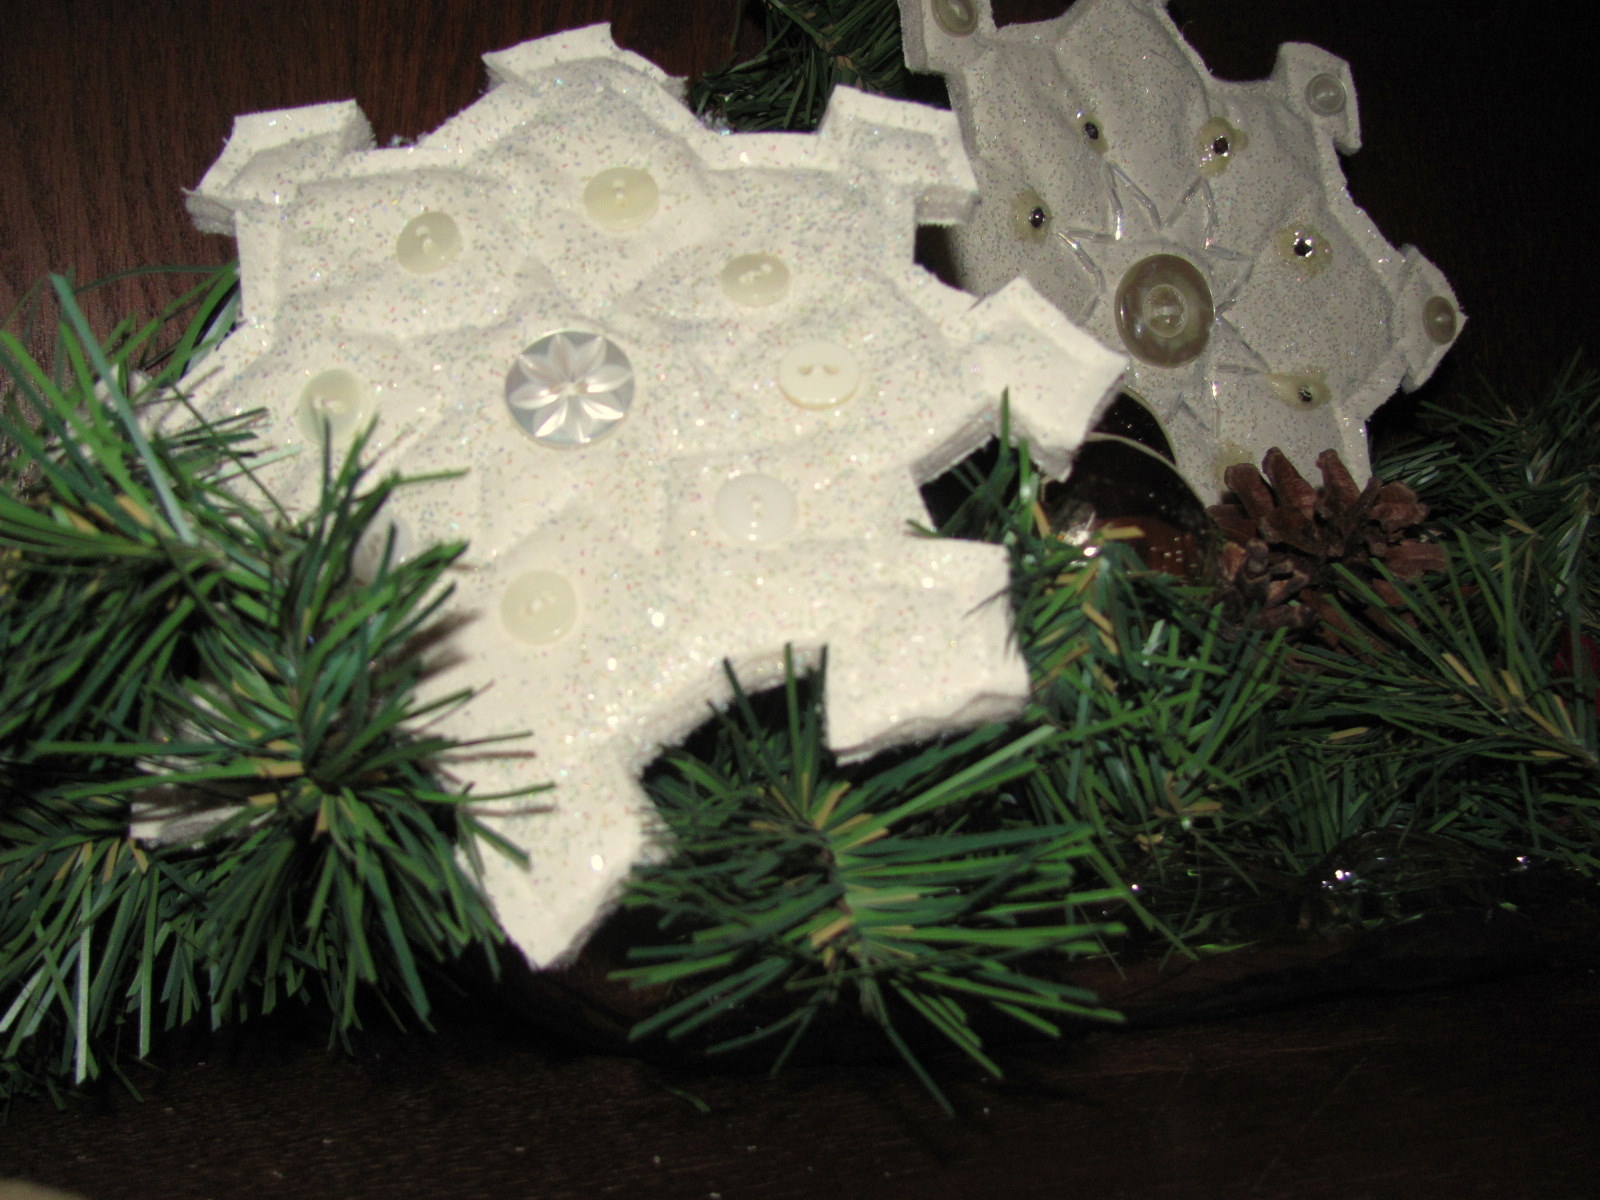
Fast forward to Christmas and the "surprise" that was hauled up from the basement.


 Yep.  
A Christmas wreath made from toilet seat covers.
And yes, they had to repeat the whole sordid tale to EVERYONE.

So, what's your reasonable New Year's Resolution?


12/25/10

Joyous Noel


An old fashioned Christmas wish from our house to yours.

A long time in the making 


finding things here and there 


to give our home a primitive Christmas sort of flair.


Refurbishing wreaths and creating things from
things I've used before.


Hauling things up from the basement 


and framing a thought from my heart.


Thinking of Christmas time of long ago
and pulling it all together so
everyone will know


and how fortunate we are that

God sent us a Savior

If our greatest need had been information,
God would have sent us an educator.
If our greatest need had been technology,
God would have sent us a scientist.
If our greatest need had been money,
God would have sent us an economist.
If our greatest need had been pleasure,
God would have sent us an entertainer.
But our greatest need was forgiveness,
so God sent us a Savior.

Author Unknown


A very Merry Christmas
from our house to yours.


12/13/10

Inside Jobs

We were promised snow and strong winds for Saturday.  By the time Saturday morning arrived they'd changed their minds and told us to stay home because we were in for a blizzard with a lot more snow than anticipated.  They weren't wrong.


On a clear day we can see forever out here.  This was the view outside, so we obviously spent the day inside where it was quite cozy.


The wind was blowing so hard it created drifts inside the garage!


I took the opportunity to make some ditty bags for the grands.  Fortunately I was up early Saturday.  The blizzard was scheduled to arrive at 9 a.m. and the garage was still relatively warm from Friday when the temperature hit 50 degrees.  I needed to spray the cloth with a sealer before printing so I backed out the buggy, sprayed my cloth and put it back in the garage before the blizzard arrived. 


(Here's the full tute for making the ditty bags - they make great gifts!)

Talk about cabin fever.  Golly, as the day progressed, we weren't able to see much of what was going on outside.


Can you see my beloved washing machine through the snow?

Definitely mitten weather in Iowa, wouldn't you say?


I had baked these mittens a few days ago and found a way to display them in an antique mirror frame ( I just love whatever the heck veneer finish is on that frame )  A Christmas pick gave it a nice wintry Effect.


Since I didn't attach anything to the frame, I figure I can use this all year long, just change out the mittens for something seasonal. 

I also prettied up this awesome antique candle holder I found at  Streck Sales (my favorite little store!)  It sure brightens up our little kitchen dining area.  (What do you think Joleen??)


That fairly well sums up how I spent my blizzard day.  How was your weekend? 

12/11/10

Baked Snowmen and Fresh Flakes

Christmas at our house this year definitely has an old fashioned country flair.  I went a bit wild with the antiquing of my sewing projects, but I left a couple of things "un-antiqued" and they just didn't look right!


This happy little couple sits in a lovely antique cheese box I picked up at my favorite little store, Streck Sales, in Denison (Hi Joleen!).  I had fun dressing them up for Christmas with bits and pieces of things like old socks (the Mister's stocking cap) an old star ornament, buttons, scrap material and falling apart evergreen garland.


The same is true for the son who appears to be happy living on his own, huh?  His stocking cap is another old sock... his scarf came from old kitchen curtains.  Look at that little nose of his - that's the way he came out of the oven!

The tutorial for making antique snowmen - or anything else made of cloth for that matter - can be found here.

I did make some fresh snow too:


The sewing angels were really looking out for me one day.  I was at this store and for some reason, thermal blankets caught my eye.  Probably because the big price banner said $2.  Two dollars?  for a KING size thermal blanket?  I took it to the cashier and said I didn't want it if it wasn't $2.  For me it was $2 - but they promptly changed the price banners to read $12.  What a steal of a deal!

Anyway, this was one of those really stiff thermal blankets.  I had read somewhere how people use them for quilts instead of paying for batting.  Hmmmm.  Perfect!  I'm not a quilter (yet) but that thermal blanket worked just perfect for my snowflakes!


I sandwiched a double layer of  thermal blanket between two pieces of muslin fabric after I used my disappearing ink to trace around a couple of different snowflake designs I found on Print Shop.  I sewed around the outline and then cut them out.  Simple, simple, simple!  Then they were sprinkled with glitter and adorned with old buttons (thanks Mom!) and hand sewn glass beads.


Nice, thick Iowa snowflakes  : )


And speaking of snow... we're in for a blizzard today.  Joy, joy.  Hopefully we won't lose power because I want to get back to my sewing machine and make some more ditty bags for Christmas and some stockings for the fireplace. 

Have a great day!

12/8/10

Keeping My Fingers Busy

I've been away from the computer for awhile... on purpose.  I HAD to stay away because after 35 years of huffing and puffing, I realized I'd never be able to blow the house down if I didn't quit smoking.  Since smoking at the computer was as natural for me as a cat purring when it's happy, I decided to treat my computer like a lover spurned lest I give in to the nasty habit.  I'm not out of the woods yet, but I think I can behave long enough for at least one little post : )


So, while everyone else was having visions of sugar plums dancing through their heads getting ready for the most wonderful time of the year, I was having visions of lugging an oxygen tank around for the remainder of my years and decided to busy myself with creating new Christmas decor.  It's been a wonderful new livelihood and my fingers have been very productive.

Probably the craziest thing I came up with was eternally incorporating burlap with Christmas lights.  Just one string of lights, but I had enough burlap to make at least three more sets.


This piece of burlap was given to me a long time ago and it must have been 15 feet long!   I washed it (what a MESS!) but it made it soft and pliable and just perfect for Christmas lights because the little bulbs can either poke through the burlap - or hide inside:


I opted for alternating the bulbs in AND out.  Then it was a simple matter of pinning the burlap and sewing the longest seam I have ever sewn - 10 feet!  Just leave the ends open, of course so you can plug the lights into your power source.


I wrapped it up in some evergreen garland and used it on the mantle.


It nestled nicely among some of the other crazy little things I made : )

Okay then.  That's enough for now.  Old habits die hard and I need to get outta here for now.  Maybe tomorrow I'll show you my baked snowmen : )

11/2/10

Guess What's in the Oven?

If you said "not food"... you know me well and you're right!


Now, if I was cruel, I'd leave just this picture up for a week and see if you could figure out what the heck it is.  But I've met so many wonderful friends through my little blog I just couldn't do that.

I will tell you that it started out with a couple pieces of paper for the main pattern pieces.  An oval (4.75" wide and 9" long) and a fat curly worm looking shape.  Since I forgot to take pictures along the way, I guess I have to just show you know what it turned into.  (Hate it when I get excited and forget to shoot the steps!)


Roasted Turkey (and no, they weren't impressed with what was in the oven again).  Oh Well.

Now I can explain how I made it.  Seriously, it requires very little skill.  To make the body of the turkey, you cut five of those ovals and sew them together - leaving the middle of the last seam open for stuffing.  (DO NOT STUFF WITH BREAD CRUMBS! : )  When you get it done you've created your basic ball.  Kinda cool.  You can make all sorts of things out of balls.

After I made and stuffed the ball, I drew that worm looking thing - it's the neck and head of the turkey.


As you can tell, it took me a few attempts to get it right.  Thank goodness for erasers.  Then I took two pieces of fabric, slipped the pattern between them and traced around my outline with my disappearing ink pen (so cool!).  Then I sewed the pieces together leaving the bottom of the neck and about 1.5" of the top line of the neck (from the edge of the paper to just about the curve) open for stuffing and sewing onto the body.  Note:  Trace, sew on the lines you drew and THEN cut the fabric.  So easy - don't have to worry about seam allowance : )

The tail feathers were the easiest.  I set my stuffed body (turkey body, that is) on top of doubled fabric and cut a 3/4 oval shape - curved on the top, flat on the bottom and pencil drew long fingers on the fabric.  Then I stitched the "fingers" and stuffed them.


After the fingers were stuffed, I stitched right below them, put a little, not much, polyfill in the pocket and stitched all the way across the bottom.

As you can see, I antiqued them - secret recipe found here and baked them separately.  Believe it or not, I had to baste the turkey!  The top dried out faster, even though I kept turning it, flipping it from side to side.  Too funny!

Oh the waddle thingy!  I just cut a waddle shape out of red material and sewed it on the neck.

I did bake everything twice because I didn't think it turned out dark enough the first time.  Who wants to look at a pale roasted turkey??


I put the finishing touches on by painting the beak and the eyes with acrylic paint.


Then I dressed him up a bit and I think he looks very festive for the upcoming holiday!


I see I have 3 hours and 14 minutes to link this turkey up with Jan over at the
so that's what I'm gonna do!  (I hope she likes it!)

Oh!  I found a new party to link to:  Fabric Fun Thursday over at Cheap Chic Home - cool!

So what do you think?  Is it the "Crow's Toes"?

10/24/10

Makin' Babies

I knew the title would grab your attention : )


I've always loved primitive dolls and crafts, but I've never attempted to make anything.  Until now that is.  I am having a blast making all these new things, but the rest of the household (all male *sigh*) isn't quite as enthused. 

Actually, it's been quite funny (from a female perspective) because they got all excited seeing me in the kitchen holding a baking pan in the middle of the day.  I generally don't spend much time in the kitchen unless I have to.  I'm a horrible cook and I don't think I inherited any baking skills either.  Anway, the guys weren't impressed at all when they opened the oven door to see what smelled so good and found this:


Cole said, "can we eat it?"
"Nope".
"Well then why are you wasting propane?"
Good question, huh?

Nonetheless, I was on a Baby Makin' mission and the best directions I can give you about making a cloth doll is:  buy a pattern.  I tried to draw my own pattern for a simple rag doll and it was so horrible it ended up in the trash.  What I can tell you is how to antique rag dolls so they look like they have been around for decades.


2 cups of hot, hot, hot water
1 cup of Instant Coffee
1 Tablespoon each of Cinnamon, Nutmeg and Vanilla.

(Note:  you'll have plenty left over - just refrigerate it until next time.  You don't have to reheat it, the hot water is used to dissolve the instant coffee)

Mix it all up and paint your doll with it.  I used a sponge brush and it worked great.  Then you pop your baby in the oven and bake her for 10 minutes on each side at 175 - 200 degrees.  If she isn't fairly dry to the touch, keep flipping over and baking for 2 - 5 minutes at a time, checking often so you don't burn the house down.

She'll come out looking like she's been played with, left out in the rain and drug through the dirt for 50 years or more.


The longer you leave her in there and the dryer she becomes, the greater the distortion.

Here's one that I took out a little earlier than recommended:


She's still antiqued, just lightly and probably what most people would prefer.  (I'm forever over-baking things!)

The face details had me scratchin' my head.  I like the looks of sculpted noses, but as you can see, I need some more practice.  You lightly pencil draw the nose then it's in through the top of the head with a needle and out at the top of one side of the nose.  Dig in and poke the needle out to the other penciled line.  Tiny stich down on the same side, dig and poke out on the opposite penciled line repeat, repeat, repeat.  Obviously I don't know what to do once you get to the nostrils, so I won't try to explain - lol.


After looking at that I thought maybe I should sculpt the nose before baking.

Nope.


Sculpting the nose first made this one turn out looking like the brown-noser I used to work with!  

How about NO nose?


Naw.  Makes it look like I don't know how to make noses.

So, my new style is:

 
No nostrils!

Now, my next step will be to take the babies shopping with me so I can buy thread that matches the color of their baked skin and all will be well : )

I made the little dresses for them too. They are baked separately using the same process as the dolls.  The first ones of them also ended up in the trash.  But persistence and practice does eventually pay off : )  My babies aren't perfect, they have faces only a mother could love, but they are special because they're my first attempts.  

 May Lou and Mable

Marcella

Minnie

When (IF) I get better at this, I'll link them up to some parties : )