

I've always loved the layout of the kitchen and the view from the window is to die for. I liked the red countertops, but they were in need of replacement or repair. We went with repairing and painting them because there just wasn't any way we could afford to replace.
The countertop in the sink area is where we found our biggest challenges:
Chips:

Burns:

and Oooops!

When we pulled the sink out, the Formica broke on the back side. I think a disaster like this would be most disheartening for the light hearted, but I really wasn't concerned because I knew how to fix it!
First of all - don't throw away the pieces.
Just get out the Gorilla Glue, piece it back together, clamp it and put some weight on it until it's dry.

Then you get out the trusty wood putty and fill in all the cracks and dents and burns.

It still doesn't look very lovely, but it's going to be just fine once it is sanded down and primed.

The chip and burned spots shown above are gone! So is the busted up piece of Formica behind the sink:

Granted, this project - just the sink area - took about two weeks to accomplish because we both work full time, and the steps are time consuming as well:
1) Fill burns, chips and ooopses with wood filler, sand the countertops (to remove the shine and smooth out the puttied areas)
2) Apply the primer - here I would highly suggest and most definitely recommend the Giani products because they are made specifically for these projects and they come with complete, easy to follow instructions.
3) Dab your color(s) onto the countertops with a sea sponge (comes with the Giani kit)

In the laundry room I used all of the colors that came with the kit... plus I added the turquoise to coordinate with the color of the walls.

(That is my kitchen sink, pro tem while we worked. It was 23 paces from the stove to the sink!)
For the kitchen, I went with just the red acrylic on top of the primer. The result, if I do say so myself, is stunning...
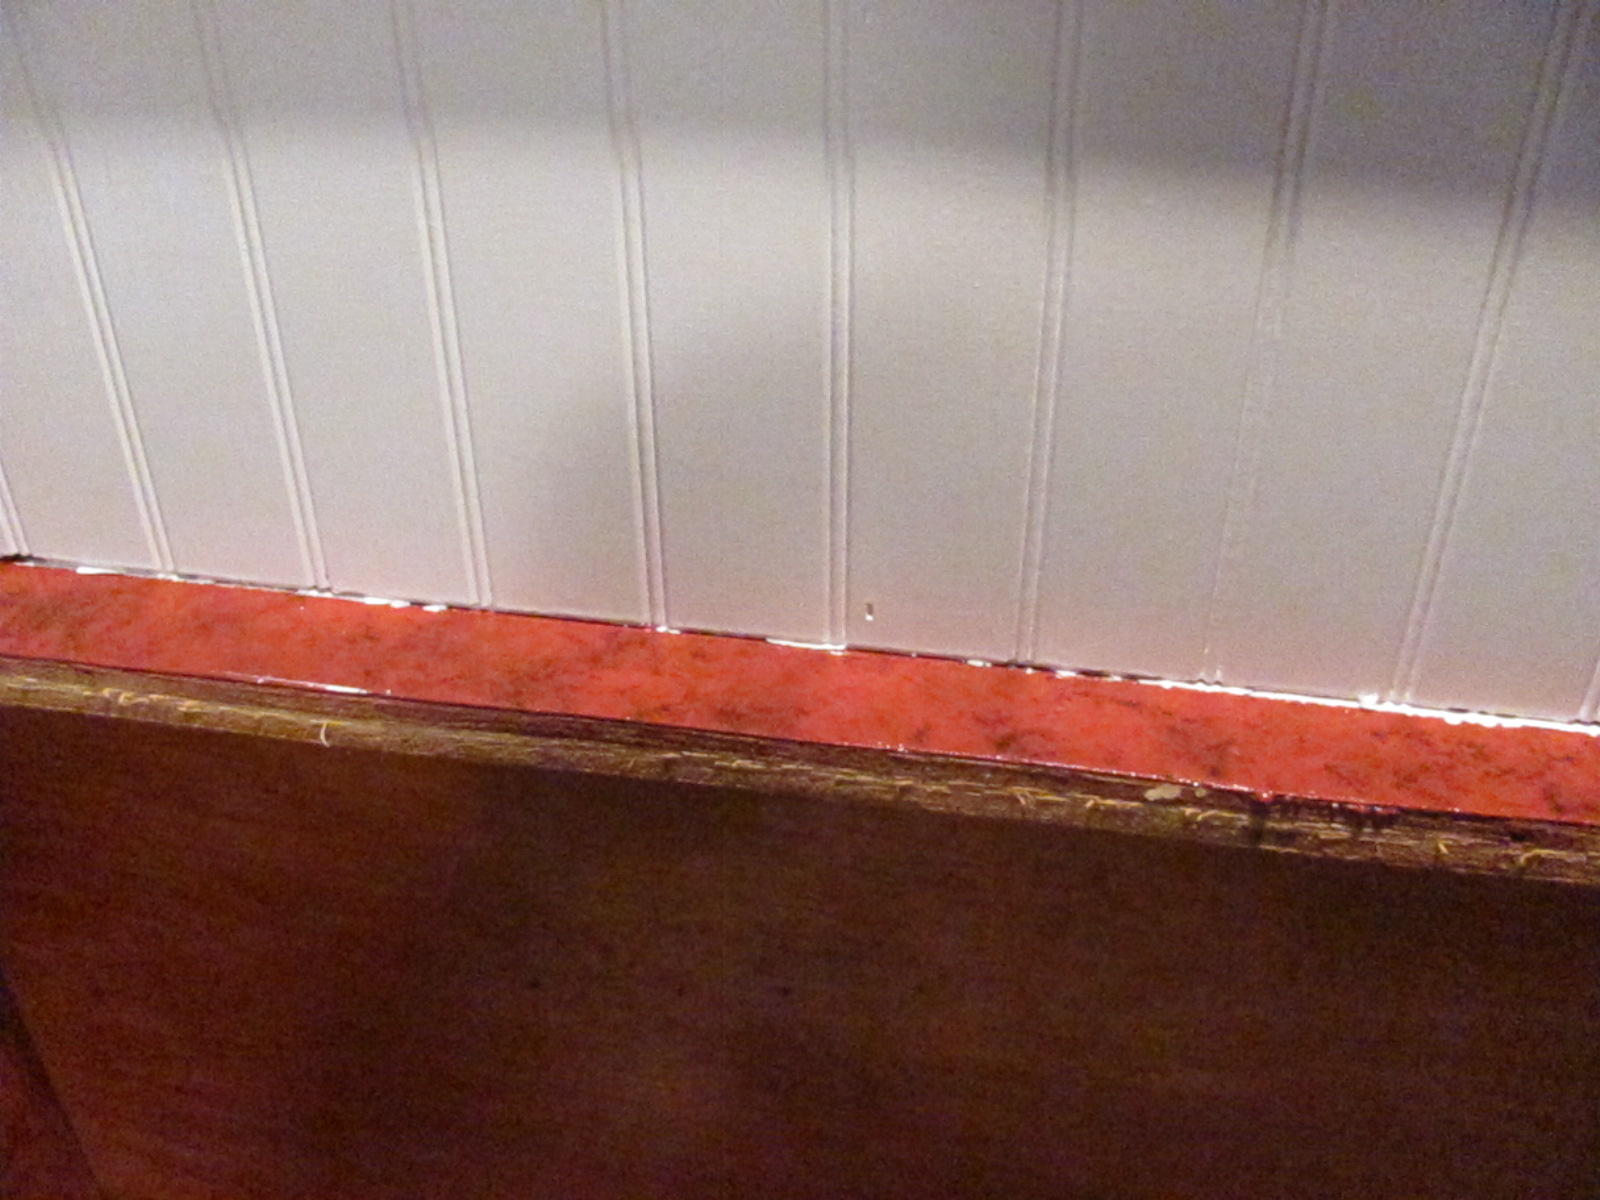
...especially when you take into consideration the disaster we started with.
4) The fourth, and final step is applying the top coats. We went with three coats... allowing each to dry overnight before applying the next.
What we ended up with made us smile : ) we find ourselves just standing there admiring the difference! Of course, adding the beadboard backsplash made a huge difference in the appearance too.


Of course the crowing glory was installing the sink. I really wanted to get an apron sink to give my country kitchen the Crow's Toes look with a farm sink - but they start at around $700 and have to be special ordered when you live in the middle of nowhere. So we went crazy and decided to go with a black sink and Tuscan Bronze faucet.

Because we opted to repair and paint the countertops, it cost us approximately $100 and a lot of patience, but it also saved us enough money to have new custom beadboard cupboard doors made for us, so all we have to do is paint and install.
The most difficult part of our project is complete and we are happy and pleased with our efforts : ) Last night we purchased a new range hood and because the weather is not conducive to outdoor work, it just might get installed today!
I hope I have done a satisfactory job of showing how easy and inexpensive it is to fix countertop problems you may enCounter and maybe even inspire you to take the plunge if your kitchen could use a facelift too.


